
The main piece is a pillow case, and the pocket piece is a handkerchief. I used scraps from a previous project to make the waist ties and some old buttons just for fun. Below is my attempt to explain how it was made.
Pillow Case and Handkerchief Apron
Materials:
- pillow case
- handkerchief
- fabric for waist ties - about 90" long and 3" wide
- buttons
- thread
- sewing machine
Steps:
Cut fabric for the waist ties; I like mine to be long so I can wrap it around and tie in the front (this makes me feel skinny). Therefore I made mine about 90" long and 3" wide (of course you can change the length or width if you would like). Since I was using fabric scraps for this part, I had to sew together several pieces to get a piece 90" long.
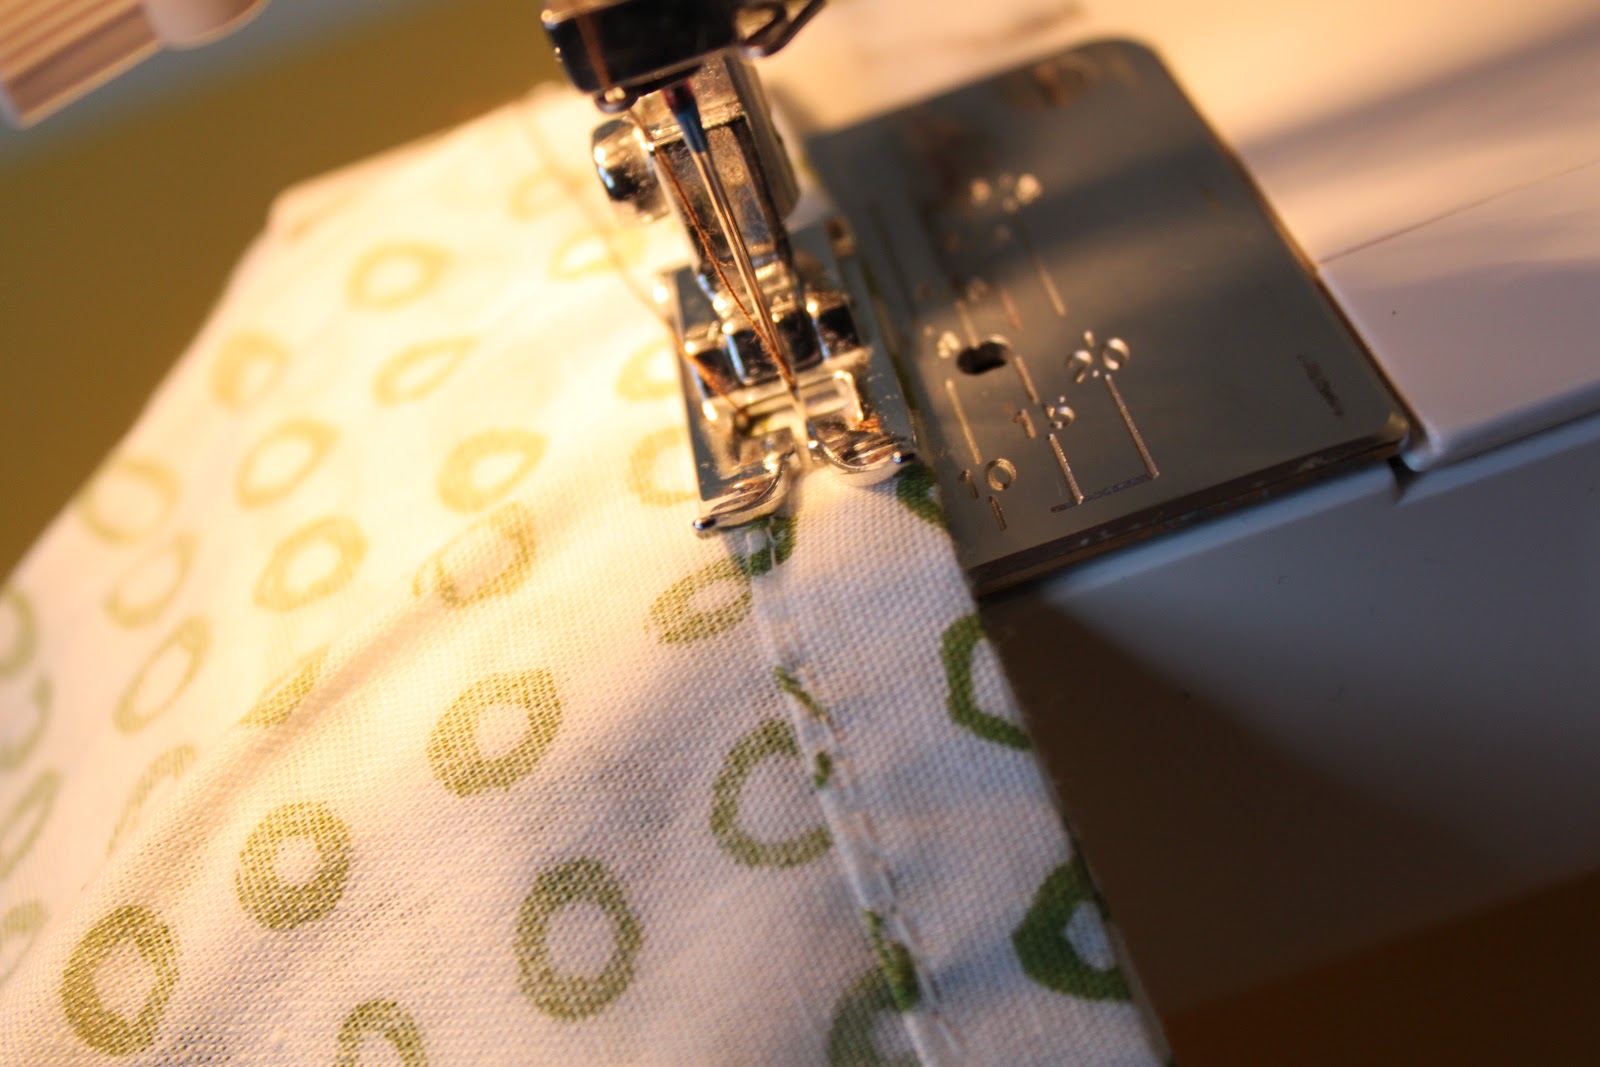
Fold waist tie fabric in half and stitch with a 1/4 inch seem allowance along the length to form a tube. Tube will be inside out.

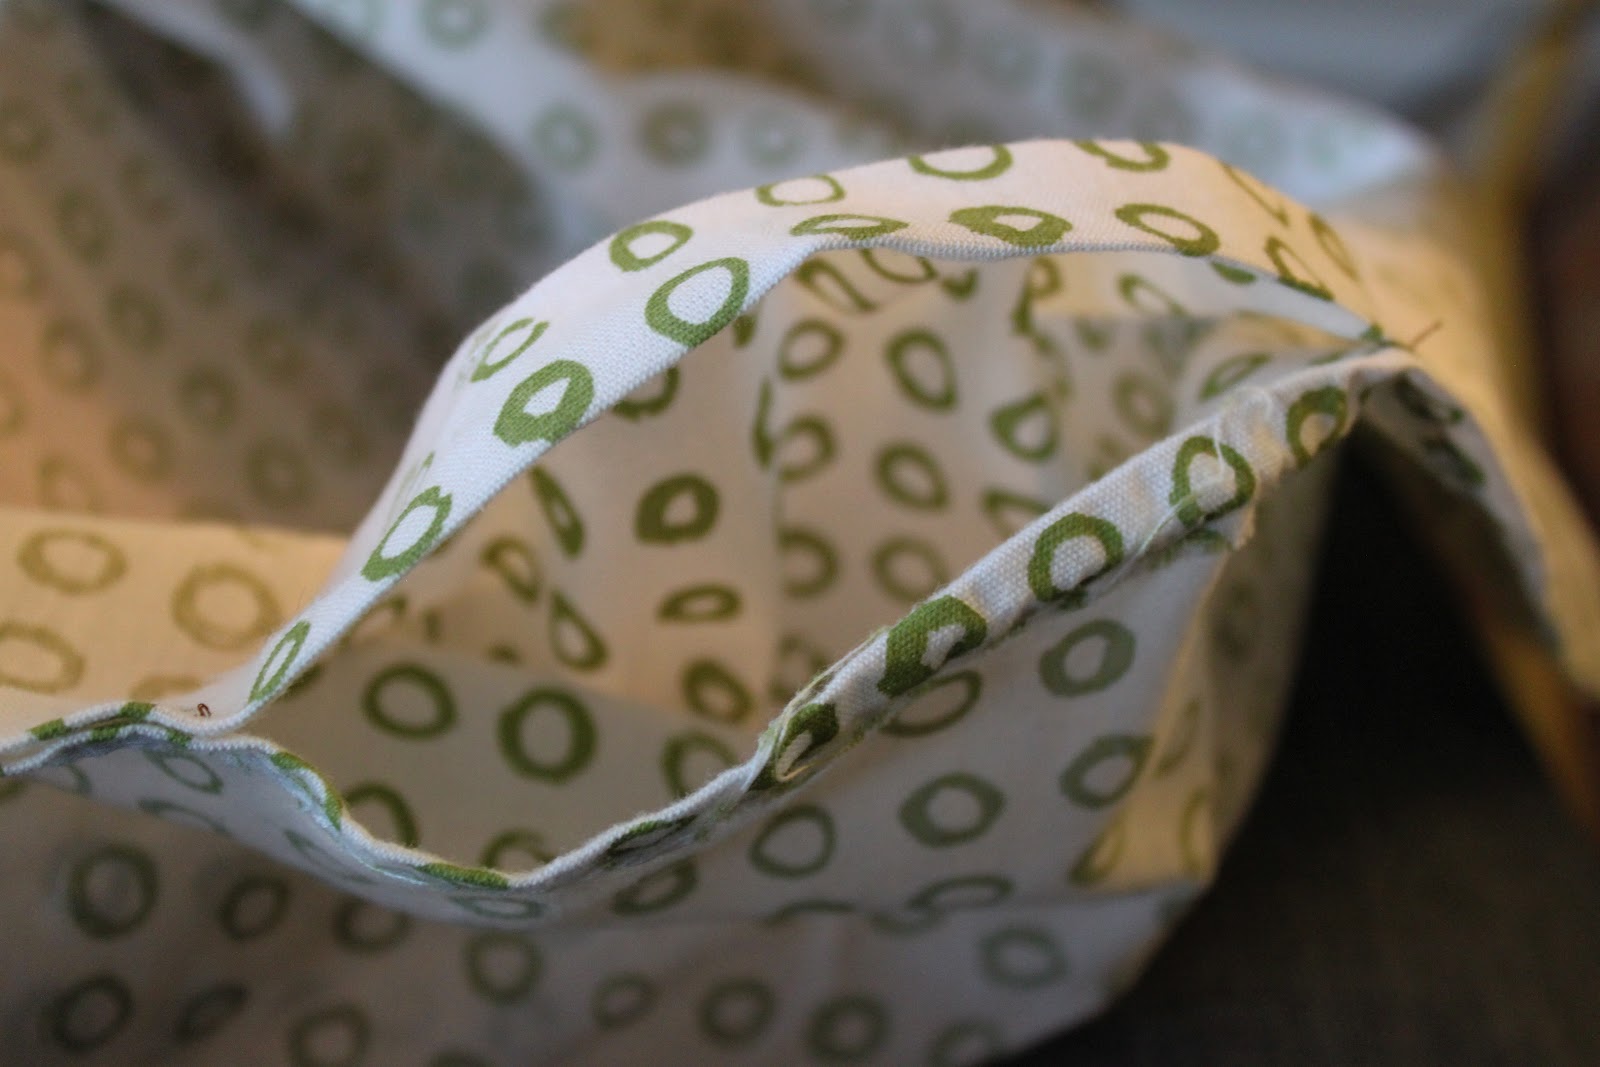
Turn tube right side out. Use safety pin or similar tool; attach pin to one side of tube near one end. Then insert pin into the end of the tube where it was attached and push and work it through the length of the tube. When the safety pin comes out the other end continue to pull fabric through until tube is turned right side out.


Iron tube flat and fold ends of tube over twice and stitch to finish off.


Pin pocket to pillow case. Fold handkerchief in half and pin into place on pillow case; I put the pocket in the center. Be careful just to pin to one side of the pillow case, not through both sides.

Sew pocket to pillow case. Stitch along sides and bottom of handkerchief to attach to pillow case. Do not sew along top, pocket needs an opening. I also stitched up the center of the pocket so that it is actually two smaller pockets. Be careful to sew just to one side of the pillow case.


Sew pillow case closed. Turn pillow case inside out, pocket will be on the inside. Stitch the length of the open side of the pillow case, leaving about a 2" opening to turn.
Turn pillow case right side out and top stitch along sides and bottom, make sure to close opening left from turning in step 7.

Pin waist ties to pillow case. Find center of pillow case and center of ties, match up and pin ties to top of pillow case.

Attach waist ties to pillow case. Top stitch with 1/4" seem allowance along the top length of the waist ties, when you get to where the waist ties overlap the pillow case, this will attach the ties to the pillow case. Also top stitch with a 1/4" seem allowance along the bottom length of the waist ties, again sewing ties to pillow case.


Hand stitch on buttons just for fun.

A few ideas to make this project even easier:
- don't include a pocket, really how often do you use a pocket on an apron? Although, I do find it extremely useful when wearing it to work and especially if my pants have no pockets, oh yes there are days I wear good old sweat pants to the coffee shop.
- don't add the buttons, they are just for looks after all.
- use ribbon for the waist ties; then you would not have to make and turn the fabric tube (which I will admit is a pain in the butt and in my opinion the hardest part), just attach the ribbon to pillow case as you would the fabric tube.
No comments:
Post a Comment